J.5.3 Creating Accessible Animations
An Office Open XML-recommended approach for providing text equivalents for animations is to create a separate text box for each animation. Each text box should contain the desired closed caption for the animation. The exact specifics would naturally be left to the document author, but could include information such as a description of the object being animated, the type of animation, the visual effects, etc.
The text boxes that contain the text equivalent per animation would be arranged on the slide in a desired location; using the closed captioning model, centered along the bottom third of the screen is a standard example. Once positioned properly, the text boxes would be put on the animation timeline along with their animation, such that they appear when the animation starts and that they disappear when the animation concludes.
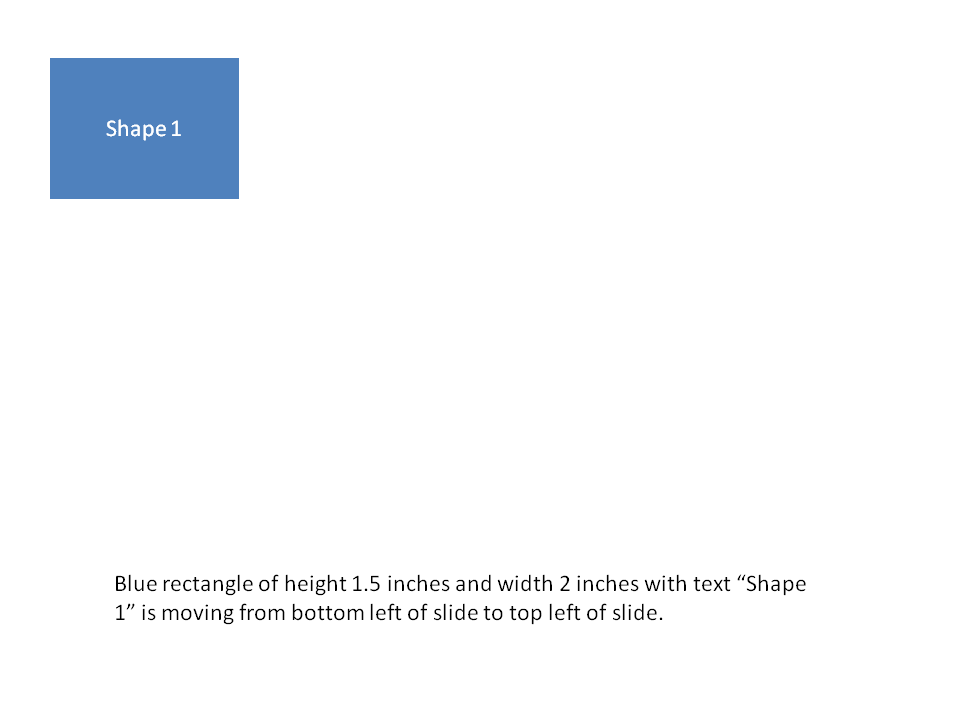
Consider a shape that is set to move vertically along the left-hand side of the slide. To provide a text equivalent for this animation, I would add a text box for the move animation. The slide may look like this:
In this scenario, ythere are two shapes on the slide, which will be animated. Both of these shapes can be found in the slide’s shape tree:
<p:spTree>
<p:nvGrpSpPr>…</p:nvGrpSpPr>
<p:grpSpPr>…</p:grpSpPr>
<p:sp>
<p:nvSpPr>
<p:cNvPr id="5" name="Rectangle 4" descr="Blue rectangle of height
1.5 inches and width 2 inches with text “Shape 1”"
title=”Blue Rectangle”/>
<p:cNvSpPr/>
<p:nvPr/>
</p:nvSpPr>
<p:spPr>
<a:xfrm>…</a:xfrm>
<a:prstGeom prst="rect"><a:avLst/></a:prstGeom>
…
</p:spPr>
<p:style>…</p:style>
<p:txBody>
…
<a:p>
<a:pPr algn="ctr"/>
<a:r>
<a:rPr lang="en-US" dirty="0" smtClean="0"/>
<a:t>Shape 1</a:t>
</a:r>
<a:endParaRPr lang="en-US" dirty="0"/>
</a:p>
</p:txBody>
</p:sp>
<p:sp>
<p:nvSpPr>
<p:cNvPr id="8" name="TextBox 7" descr="Caption for
animations:
Blue rectangle of height 1.5 inches and width 2 inches with
text “Shape 1” is moving from bottom left of slide to top left of slide
while fading in over 3 seconds.
"
title=”Animation Close Caption”/>
<p:cNvSpPr txBox="1"/>
<p:nvPr/>
</p:nvSpPr>
<p:spPr>
<a:xfrm>…</a:xfrm>
<a:prstGeom prst="rect"><a:avLst/></a:prstGeom>
<a:noFill/>
</p:spPr>
<p:txBody>
<a:bodyPr wrap="square" rtlCol="0">
<a:spAutoFit/>
</a:bodyPr>
<a:lstStyle/>
<a:p>
<a:r>
<a:rPr lang="en-US" dirty="0" smtClean="0"/>
<a:t>Blue rectangle of height 1.5 inches and width 2 inches
with text “Shape 1” is moving from bottom left of slide to top left of
slide.</a:t>
</a:r>
<a:endParaRPr lang="en-US" dirty="0" smtClean="0"/>
</a:p>
</p:txBody>
</p:sp>
</p:spTree>As the shape tree above shows, the animating shape has a shape ID of 5 and the closed caption text box has a shape ID of 8. With both shapes in the shape tree, they can be added to the slide timeline.
<p:timing>
  …
  <p:bldLst>
    <p:bldP spid="5" grpId="0" animBg="1"/>
    <p:bldP spid="8" grpId="1"/>
    <p:bldP spid="8" grpId="2"/>
  </p:bldLst>
</p:timing>
There are three build steps in the timeline:
Animate the shape ( move across the slide )
Animate the text box ( appear )
Animation the text box ( disappear )
This approach can be used in even more complex animations by reusing the general principle of associating a text box per animation.